“Rome wasn’t built in a day”. A city that went through ups and downs, a society that saw more change than any other comparable one, empires and republics reaching their zeniths only to be drawn to ashes.

“Rome wasn’t built in a day”. A city that went through ups and downs, a society that saw more change than any other comparable one, empires and republics reaching their zeniths only to be drawn to ashes.
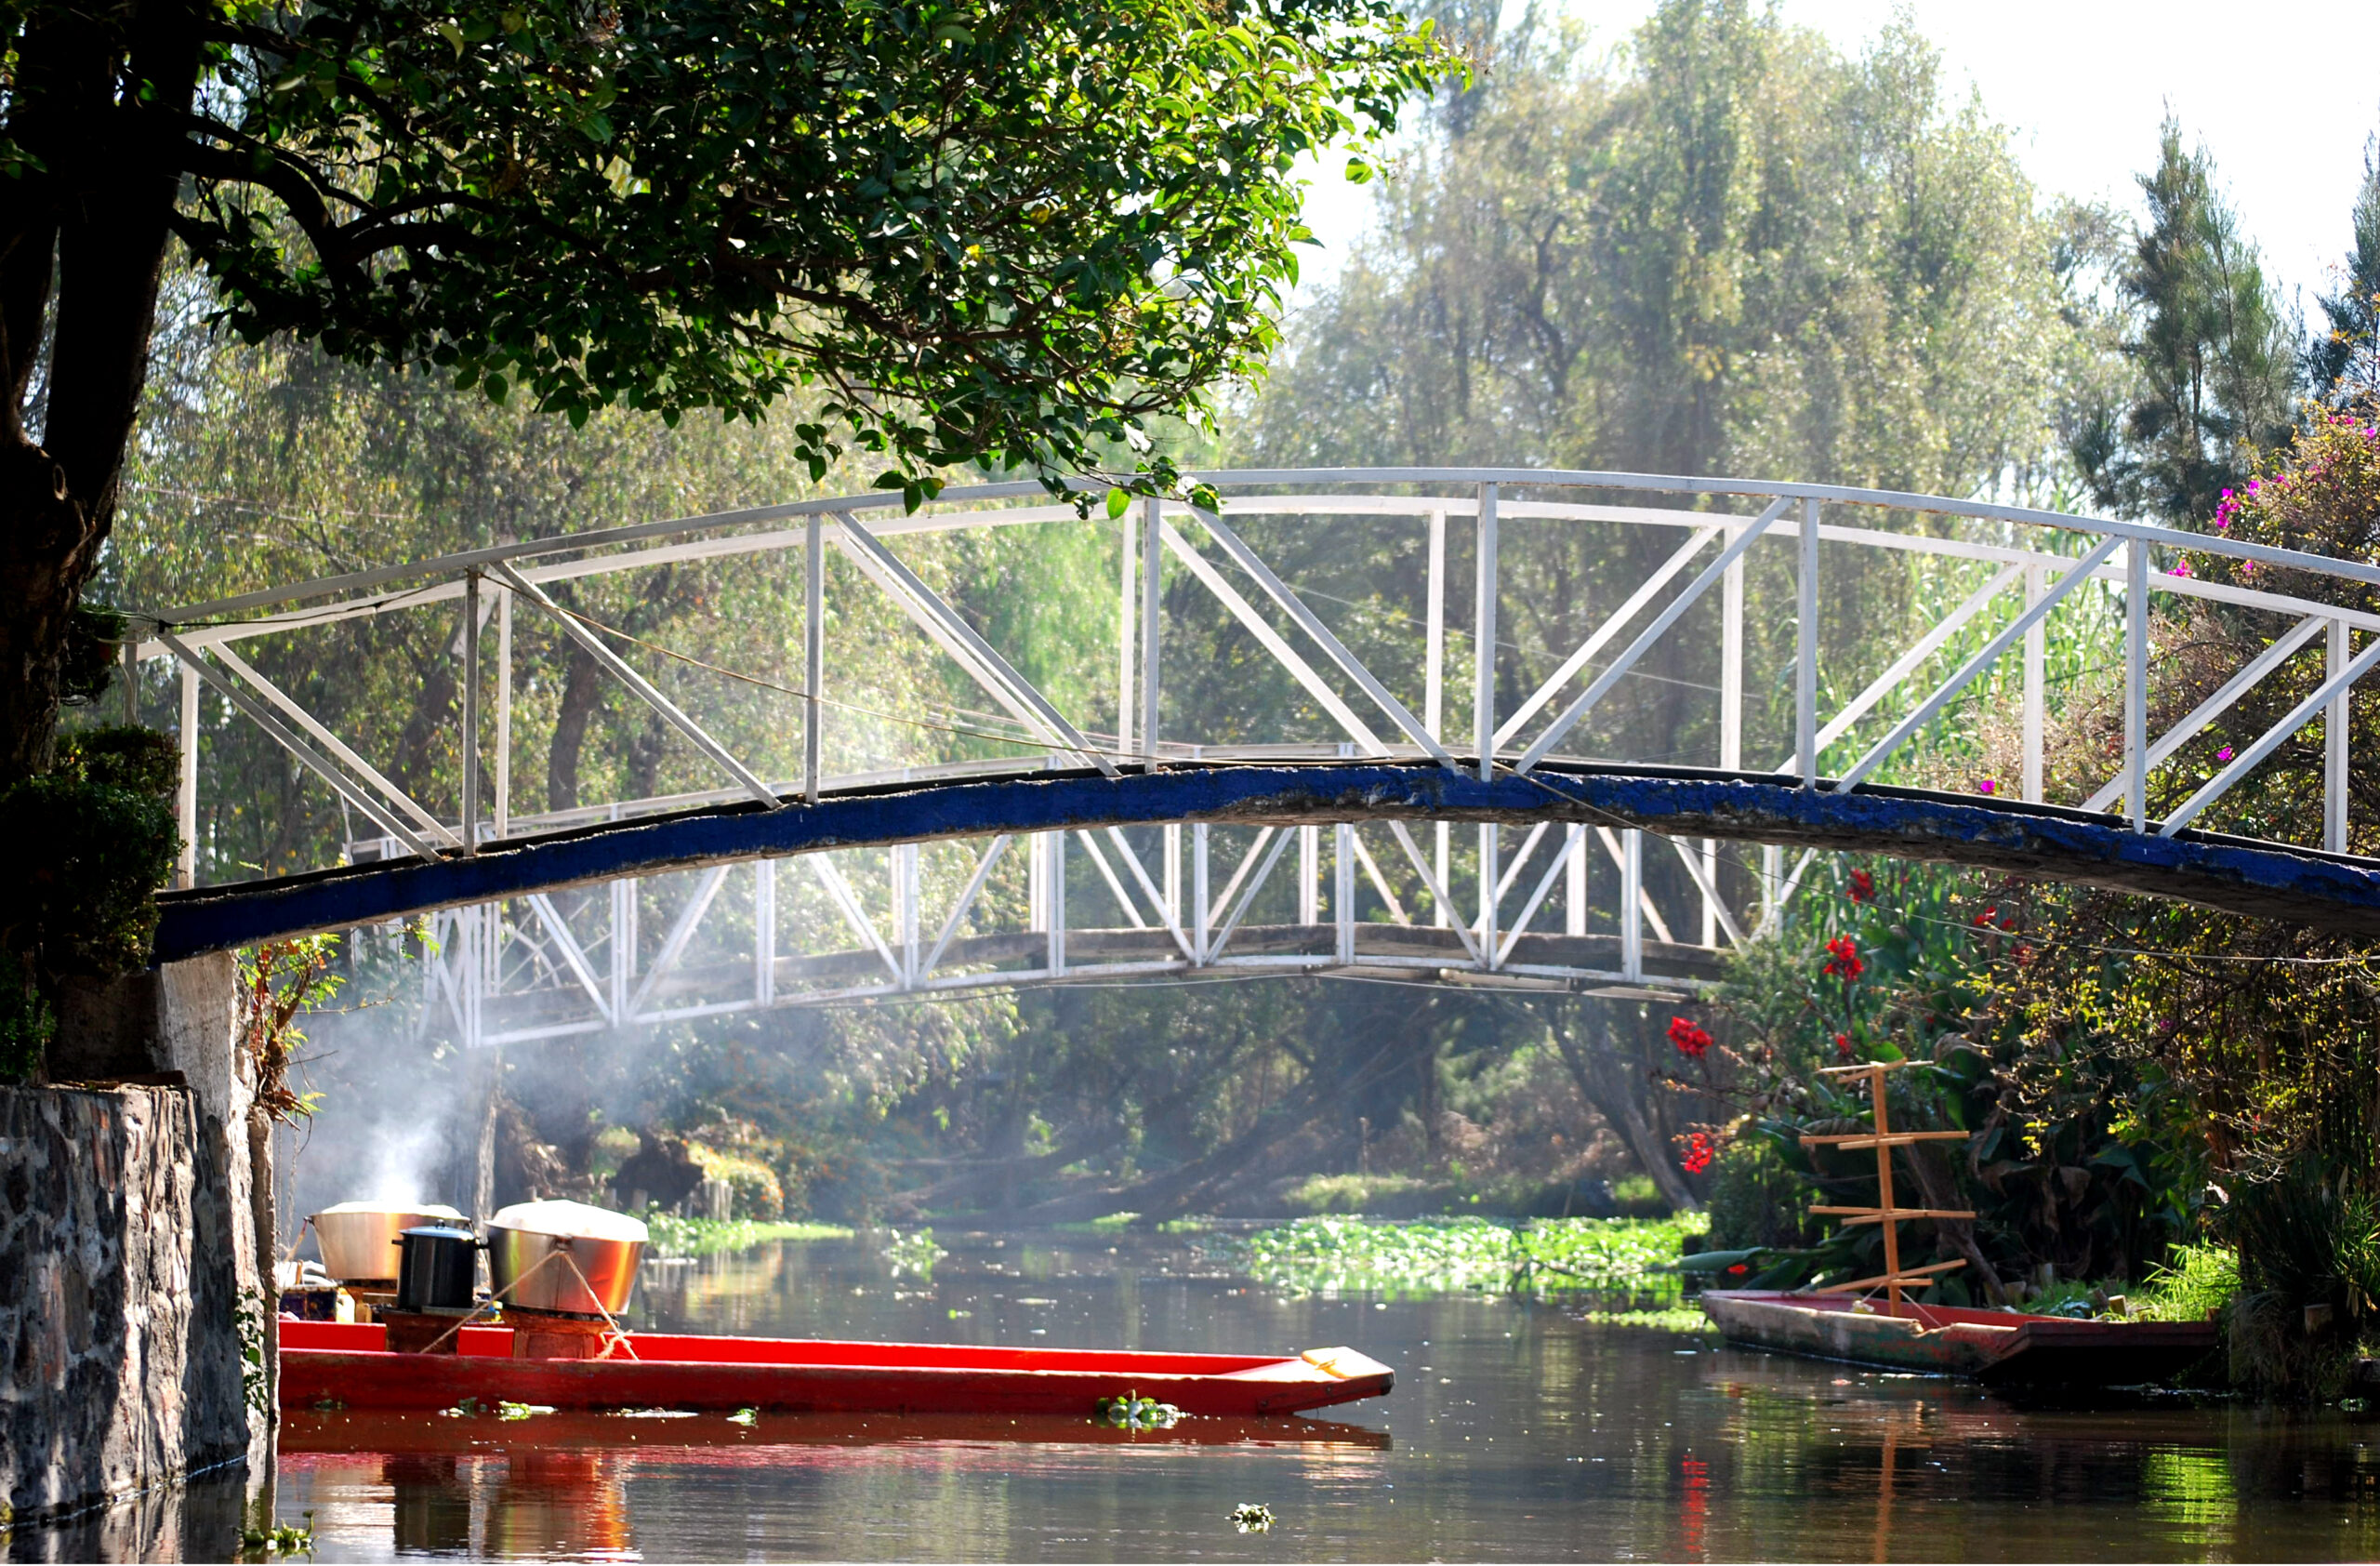
Welcome to WordPress. This is your first post. Edit or delete it, then start writing!
Was it a citadel, a summer get-away for the Inca Emperors or was it a fortress protecting something stunningly valuable? While archaeologists and historians search for answers, millions of tourists flock to the mystical paradise of Machu Picchu to soak in the mysteries, explore the engineering feats of the Incas and glide (metaphorically) over breath-taking panoramas atop the mountains!
Located at about 2,800m atop the Machu Picchu mountain, there are many

Iconic view of Machu Picchu
sectors in the citadel, including the temples, streets, plazas and agricultural terraces (Read details here). The structural features and genius engineering concepts put to work half a century ago, coupled with the mysteries and myths of the purpose of the architecture qualifies it to be one of the new wonders of the world. UNESCO rightfully has recognized it as one of the Heritage Sites, and is constantly working on ensuring the sustainability around it.
Classic civilizations from pre-historic era have always spurred up close to water bodies, such as the Egyptian civilization by the mighty river Nile, Indus valley civilization by river Sindh, to name a few. Aztec and Mayan civilizations of central and south America, also flourished near water bodies. A relatively new Inca civilization, dating back to the fifteenth century, thrived in the Andean highlands, before Spanish conquests in the 1530’s. The Inca empire stretched from present day Argentina to southern Colombia, but did only managed to reign for less than a century.
How the Inca developed cutting edge engineering, architectural and agricultural feats, without use of wheels, iron works, draft animals and currency, gives rise to a plethora of questions. Researchers did not even find an established writing system, which spawns the mysticism around the Inca empire and its achievements.
While present day Cusco (Qosco in ancient Incan tongue) was the capital of the empire, Machu Picchu remains to be the most iconic Inca archaeological site. Even though no concrete evidence of the actual purpose of the site is available till date, the intricate designs of the roads, irrigation systems, structures, temples and agricultural areas at such a remote location, suggest it was built for something worthy of protection.

Since no evidence of iron-works can be found in the site, we have to assume that the Inca mastered the art of stone masonry. Large blocks of uneven stones cut and placed to hold large structures in place without mortars, in an earthquake prone region, make modern day engineers envious.
Machu Picchu is located at a remote location atop the enormous Machu Picchu mountain. The iconic site is extremely controlled to traffic, and is only accessible in a couple of different ways, albeit some variations can be made available. Train, bus, hikes or a combination of the three, depending on time and effort, are required to get to the Machu Picchu ruins. See details of transportation options below.
As the most recognizable symbol of the classic Inca empire, Machu Picchu holds a number of mysteries that have yet to be answered. Surrounded by the hill of Huyana Picchu, the massive mountain of Machu Picchu and the rushing Urubamba river, the ruins contain clues to unearth the reasons for its mere existence and glimpses of the civilization.


Okay, so you want to go see the lost Inca city up in the mountains? Unlike many other mystical sites around the world, it is not an easy one to get to or even plan for. Thankfully, travel bloggers over the internet has made it an easier job, but one needs to spend a lot of time trying to figure out the steps to ensure their trip to Machu Picchu is worry free.


Since going to Machu Picchu does require planning well in advance, follow these simple but crucial steps below to ensure your trip to Machu Picchu is all set.
Now that you have everything you need for a memorable Machu Pichu trip, check out what you expect to see and get smarter on the mysticism of the classic Inca civilization here.
In our quest to explore the cultures around the world, we have to navigate many challenges, some driven by life-altering events. Last year, we had an angel step into our lives with her tiny feet, but already has managed to leave large footprints. Lifestyle alterations (read sacrifices sometimes) aside, the journey so far have been fun.
But our philosophy of indulging into diverse experiences wouldn’t stop, rather include the baby in them as early as possible, no matter how daunting it is. Why should arrival of a little one chip away from the goals we set as a couple?
Following the above rationale, with apprehension, we did a couple of long distance trips involving multiple flights and timezone change, and a couple of road trips. The experiences have been incredible to say the least. Of course the pace and the tight itineraries had to go, but within the first 12 months of the baby, she would be done with 15 completed flights of various lengths (3-10 hours). I think you should start slow to keep pace with the development of the immune system, but wouldn’t stop stretching it every now and then – a big for the baby’s adaptability lessons!
Having said that, here are eleven things a parent has to keep in mind in order for the trip to be safe and worry free. Below is the top 15 things that will help you navigate the world with that tiny soul:


Based on our experiences, adding a Diaper bag Check-List should that help. And as you could tell by now, I am big fan of back ups. So adding commentary where I recommend adding backups.
*Added our favorite products and Amazon links as well for your perusal

Additionally, check in bag should hold the following –
Please feel free to share your experiences as well, so that we can be prepared in our next trips.

Food and Nightlife in Aruba
Return to Aruba
No matter what your preferences are while on the road, getting to know a culture is best done over a meal and/or some drinks. Like all other Caribbean islands, Aruba does have a plethora of restaurants and cuisines to choose from. But Dutch influence in the island is quite apparent when you look for places to eat or drink. We are listing down some of our favorites and popular places including the truly local restaurants.


While there are a ton of restaurants around here, but if you would like to cook, there are numerous supermarkets (mostly Asian) and grocery stores here to buy standard items including local stuff. In terms of drinks, our favorite has been the ‘Aruba Ariba’.
Outside the above, there are several beachside restaurants like “Flying Fishbone”, “Matthews’ Restaurant”, “Faro Blanco”, etc. to satisfy the pallets. There is a local brew of beer called Balashi, a lager style, turned out to be really nice.
Check out our Tripadvisor reviews for the above places here.
Whether you are looking for a calm and serene time disconnected from the stress and maddening crowd, or a hardcore water-sport enthusiast, your time in the Caribbean can be rewarding if you choose carefully. While you cannot necessarily go wrong in your choice of the island (out of hundred-odd named ones), a bit of high level planning will help you focus on the goals rather than deal with the travel management.
Some travelers tend to combine Aruba and Curacao in a week long vacation, for good reasons. Some even take advantage of a cruise vacation to see (rather just setting foot on) the island(s). But if you really want to immerse a bit on the culture, learn history, and soak in the pristine waters of the Caribbean, we recommend at least 4 days in Aruba. Here is a suggested itinerary (especially if you are traveling with kids or elderly) –
Arrive in Queen Beatrix International Airport which is located in the middle of the island on the western side. Unless you are planning on staying in the resorts in one of the ‘all inclusive’ packages, please consider renting a car as taxi fares are exorbitant and hard to hail at some times during the day.
Head to the hotel/Airbnb or accommodation. If you arrive before sunset, get to a beach close by or check out one of the fabulous beach-side restaurants while sipping on those Aruba Ariba’s. No better way to feel welcome to the little Caribbean getaway. Relax, walk around and get some groceries from one of the local supermarkets.
Start your day early today, get breakfast from one of the dutch pancake houses, and start driving. We are going to skip the beaches for now, rather indulge in some history.
If you are staying in the north (Noord area), head to the Old Dutch Windmill for a quick stop and photo ops. Unlike other tourist attractions, this is a barely maintained artifact, but depicts the history of the island from the 1700’s when it was under Dutch regime. 15-30 minutes later, drive to Casibari Rock Formations on the mid-eastern side. This site is not marked that well, but GPS should take you to the right spot through the unpaved roads. Spend about an hour, hike the stone formations to get a 360 degree panoramic view of the island.
Grab a cola or a beverage of your choice from the shop across the street, and head East towards Bushribana Gold Mill Ruins by the coast. The ruins are in fairly dangerous situation, so climbing not recommended. But a stop here is absolutely necessary due to something more than the ruins themselves. Walk towards the coast and you will start to step on some rocks with sharp edges. Take a deep breath, you will be standing atop a dead coral reef! We talk about climbing a glacier and standing at the top of a mountain, but how many times would you be walking over Coral reef without damaging it further? Walk around closely keeping an eye on where you step; one mis-step could lead to some injuries due to slippery rocks and sharp edges. In this wide expansive reef, you may spot some crabs and shells, but may also spot some solidified fresh salt deposits. Pretty cool, huh?
While you are here, don’t forget to drive up to the “Natural Bridge”. It is recommended to use a 4×4 to get there, but a regular car/SUV can handle the bit of unpaved roadway. But you cannot go farther than the Natural Bridge and the gift shop. If you are carrying your swimsuit and water shoes, take a plunge in the Natural Pools created because of the presence of the limestone. Proceed with care though, as the rocks are slippery, no lifeguard and no structured access points. On your way back to the Western side of the island, stop at the Ostritch Farms and take a few pictures with the huge cacti all around you.
If you have started early enough, grab some packed lunch from a supermarket, and head to the Arikok National Park. Please note, you will need a 4×4 to access the attractions (Natural pool, Fontein Cave, etc.). It is a protected environment so car traffic is controlled. The entrance to the park closes at 3.30pm, so get in as early as possible. You can rent a 4×4 ATV to tour the park. You will need a solid 3 hours to even graze the surface of what the park has to offer.
But after all, you are here to enjoy the beaches too, and we are right about on time to hit the western coast and enjoy a brilliant sunset. Head south to Baby Beach. On your way down there, you can either stop for a drink and snack at Kamini’s Kitchen or stop for a refreshing coconut from a street-side vendor. Beware, they’ll ask for exorbitant prices, so haggle a bit beforehand. While Baby beach is more tourist friendly, and attracts snorkelers, it does not have a good vantage point for sunset. Closer to sunset, head to Rogers beach, literally 2 minutes away. There are no restaurants/establishments here, so not quite the sunset experience you may be looking for, but a quiet experience nevertheless.
More pancakes to start the day, followed by some tanning time on the beach. For snorkeling, we found Mangel Halto beach to be interesting. There is not much of a signage around, so is a quiet beach with not many people around. The expansive beach may not be the most picturesque but the shallow waters surrounded by mangroves makes it a fantastic spot to snorkel or just enjoy the warm waters. Need to get there a bit early to reserve a nice spot under the palapa’s.
For some refreshments and some beachside lunch, head up to Manchebo Beach where Matthew’s beachside restaurant serves nice lunch fare. For the afternoon siesta, head to Eagle Beach which is also a great place to watch the sunset.
Indulge yourselves for some late evening dinner in the classy on-the-beach restaurant Barefoot Cafe.
Grab some coffee, and head north to the California Lighthouse. Have breakfast in the Faro Blanco restaurant while admiring the panoramic vista of the island. Walk up the lighthouse and try to see if you can spot Venezuela coastline.
Depending on whether you are looking for a casual day on the beach, or some water-sport, drive down to Arashi Beach or Palm-Eagle Beach. Rent an umbrella for merely $20-$25 for the day (less than half that of Miami South Beach), and sip on those Ariba Aruba’s or Aruba’s local lager, Balashi. If you are in Eagle beach, snorkel or dive to the ship wreck Antilla. We were traveling with a 4 month old, so had to skip this but heard about the coral formations and the abundance of marine life.
Instead, we headed down south again to the restaurant Flying Fisherman for some dinner while watching sunset, with either dipping our toes in water or sand. Incredible experience albeit at a fairly high cost.
Next day, we pack up and head back to the airport. This itinerary can technically be consolidated into three full but hectic days, or one can head down to Curacao for 3 more days.
Welcome to the Sin City. They say what happens in Vegas, stays in Vegas! No matter how much is written for this incredible place that truly never sleeps, you could never get enough.
Located in the middle of arid Mojave desert, Las Vegas was found as an oasis (where you get water in the middle of a desert) by the trading parties traveling to Los Angeles in late 1800’s. Urbanization began in early 1900’s with the railroad linking Los Angeles and Salt Lake City, along with the building of the Hoover Dam in 1930’s. Showgirl theaters and Casinos were built by the construction mafia to entertain primarily male workers and businessmen around the area. It was not until late 1930’s that gambling was legalized. First set of hotels or resorts built in 1940’s served gourmet buffets and entertained affluent tourists. Out of the early hotels, only Flamingo still remains in business. Mob activity was reduced in the post-war period and it saw a rapid boom in the Las Vegas casino scene. Major hotels like Sahara, Sands, Riviera, popped in. Biggest stars like Frank Sinatra and other entertainers flocked to perform in the hotels.
Foundation of modern day Vegas was mainly built in the 1970-80 period, with mega resort boom coming in the 1990’s. The biggest names, Rio, Excalibur, MGM Grand, Treasure Island were built in 1990’s, and Wynn, Aria, Encore and Cosmopolitan in 2000’s.
Unlike other big cities, Vegas can be covered in one weekend. But, and a big caveat being, you are likely going to come back for another weekend or ten. It is a hit or miss for most people – you either love it or you don’t. We are big Vegas fans, and have been there at least 5-6 times. Below are a few things that you can easily cover in your first trip to Vegas. Be sure to check out the key things to remember and fun facts below.
The Strip of Las Vegas is a 4 mile section of the Las Vegas Boulevard going north-south. Most of the major hotels and casinos are in this section.
A lot of literature is written about the history, culture and architecture of the financial capital of the world. Known as the Big Apple, it has the energy and personality like no other city in the world. Having traveled to and worked in the city, we can safely state that there is no way you can get a sense of all that the city has to offer in one trip. If you are in search of the best the city has to offer, and only have a weekend to spare, follow the itinerary below for a holistic view of the cityscapes and find spots to hang out only locals know of.
Duration: Fri-Sun Best Time to Visit: Year around, but fall/summer preferred
You cannot understand the city vibes and neighborhood charm unless you are aware of the history of the city and the ups and downs the city has gone through in the modern times. Its history goes back to the 1500s when it used to be a Dutch trading post. The area around the city in 1600s was called the New Netherlands, and the present day Manhattan was named New Amsterdam ruled by the Dutch West India Company. Between 1660 and 1670, the English troops and Dutch fought several times to establish rights for the city. In the end, in 1674 under the Treaty of Westminster the city was surrendered to England. The English promptly named New York in honor of the Duke of York.
Like other large cities of the era, New York saw a number of epidemics, famines, great fires and conflicts including the battle of Long Island in the Great American War in 1776. It was the first capital under the newly minted constitution of the United States.
There are four boroughs of the city separated by the East River and Hudson River, with Manhattan being the largest island. The other three are Queens, Brooklyn and Bronx which were incorporated into the city in 1898. With the opening of the subway in 1904, Harlem Renaissance during the prohibition era and economic boom during the world wars, saw the rapid development of the city into a mega-metropolis becoming modern day hub of architecture, culture and economy. Some of the tallest and grandiose structures, like the Empire State Building, World Trade Center, Chrysler building, Flat Iron building and the Rockefeller Towers mark the iconic city skyline that glitters in the dark. Rapid economic boom drew immigrants from all around the world, and that created ethnic neighborhoods around the city, including a Chinatown.
The itinerary below will begin from a casual Friday evening and span the whole two weekend days.
Friday Evening in Midtown

Saturday Morning in Lower Manhattan/Staten Island
Saturday Afternoon in Brooklyn

Sunday Morning
Even after miles of walking and hundreds of photos, be rest assured that we only covered a small percentage of what NYC has to offer. Be sure to check out our other posts on art and culture, and food scene in New York for your future travel needs.

“Two roads diverged in a wood.. I took the one less traveled by..”. This post is neither about taking the untested path to glory nor an analysis of the misunderstood poem “The Road Not Taken”. So why the reference? It’s because the poet called Vermont his home for the most part of his life, and that there are great wilderness trails here to lose track of time and find your beautiful destination in a desolate cliff.
For this coverage of one of the most beautiful road trips in the country, we chose the peak fall foliage time in October to travel a good part of the scenic VT-100 state road. As part of the journey, we will pass scenic churches peeking out of colorful foliage, charming towns and cute country stores.
Suggested Duration: 1-2 days Time: Fall/Summer Start at: Wilmington, VT or Jeffersonville, VT
While you can begin the journey at either the north or south end (Jeffersonville or Wilmington), we started the 2 day trip from the north. We will point out the key points of interest, and interesting by-ways. Find a downloadable map of the route below.
Before we get into the sites, wanted to first cover the coveted Covered Bridges of Vermont. There are about 100 of them still remaining, and each has a character that is worth visiting. Most of them were built to carry people, animals and horse-drawn carriages across rivers and forks. The truss system that supports the weight of the bridge is actually above the bridge instead of traditionally below in other bridges. This helps the woodwork to sustain winter storms, spring thaw, and flooding river waters. All covered bridges are now protected by law. We will point out the noteworthy bridges below, but sample a few from the following – Chamberlin Mill, Gates Farm, Seribner, Poland, Power House, Grist Mill and Red Covered Bridge.
Here is a quick snapshot of the route and a downloadable map
[googlemaps https://www.google.com/maps/d/embed?mid=1iKbGQtq6rJOBsZRNsAozrRCS-MDLlRQX&w=640&h=480]
If you are in the Canadian Rockies, you must be wondering, why are the colors of these lakes so blue? Why are some of the cliffs so sharp and some are blunted? What is the difference between a Glacier and an Icefield?
Heavy and thick glaciers formed most of the lakes in this area. As gravity pulls the glaciers, the incredibly heavy ice grinds the rock into rock flour. It is so fine and light, it takes long time to settle down at the bottom of the lake. Bright sunshine is absorbed by the rock flour and only blue light from the spectrum is reflected. That’s why the color of the lakes are such vibrant blue, especially when the sun shines the brightest.
Best analogy to understand this is to think of the Icefields as a lake and glaciers being the rivers coming out of the lakes. Most glaciers are formed from the icefields, and follows gravity. Movement of glaciers is much slower compared to a river, comparable to growth rate of your fingernails. There are a number of glaciers in the Canadian Rockies, with the Athabasca glacier and Saskatchewan glaciers being the largest and most significant. Most lakes and rivers in this area are fed by one of these glaciers, thereby creating some of the purest form of water. Columbia Icefield is one of the largest ones in the world. It is a staggering 200 square kilometers wide and at areas more than 200 meters deep. You can spot flanks of the icefield on top of peaks and plateaus from the entire stretch of the Icefield Parkway.